Screenshots - A guide to approach and composition
Enjoy grabbing screenshots, but are often disappointed in the end result? Screenshot competition regular Stuart Hyett shares some tips and knowledge to help and inspire you to grab those shots that you intended in the first place.

Introduction
With the advent of realistic flight simulation software, opportunities abound to capture photo realistic screenshots. There are many ways to capture the screen, using either Windows Print Screen function, or 3rd party freeware or payware utilities, whichever you are most comfortable with. However, being able to capture a section of the screen can be useful too, as you will see later.
One could simply capture a snapshot, akin to a 'holiday snap', or could take an alternative approach to attempt to capture a photo realistic image of a scene. This article, whilst not trying to tell anyone how to 'suck eggs' so to speak, as many of you already take excellent screenshots, it attempts to outline a few aspects that may help in enhancing your screenshots and make them more dynamic.
Given an idea or theme for a specific image there a number of processes, actions and tools that may help in getting that shot that you intended.
⦁ Research and Planning.
⦁ Location and Situation
⦁ Atmosphere
⦁ Composition
⦁ Execution
Research and Planning
Firstly with an idea or a theme in mind, it is worth searching on Google for some inspiration. For example search 'airliners takeoff' and look at the various images. For example:
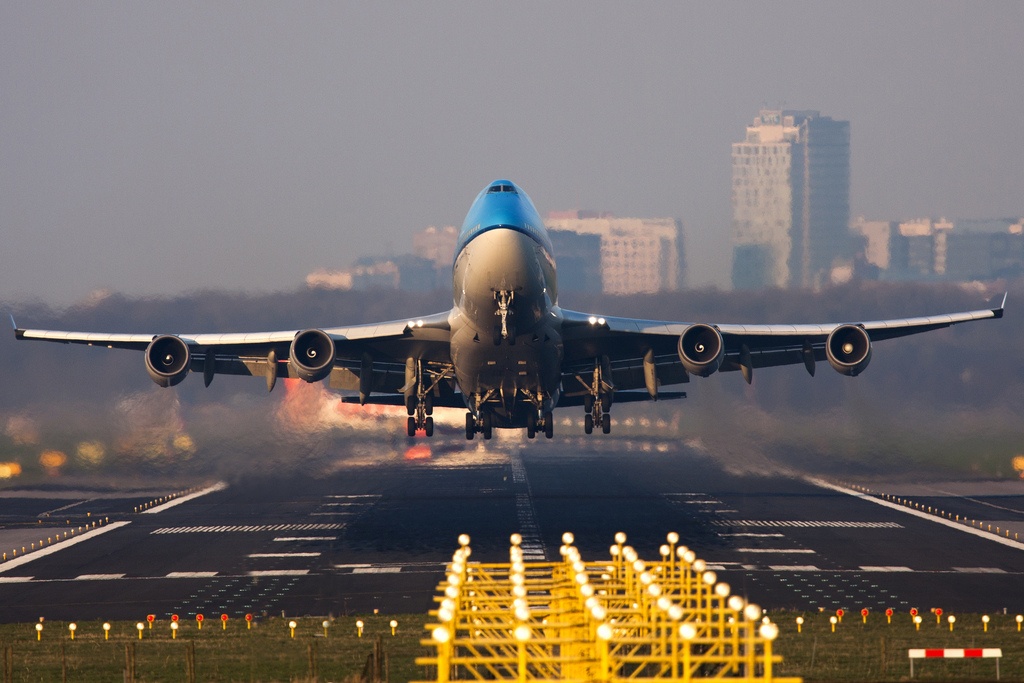
Such an image can't help but inspire you to recreate something similar.
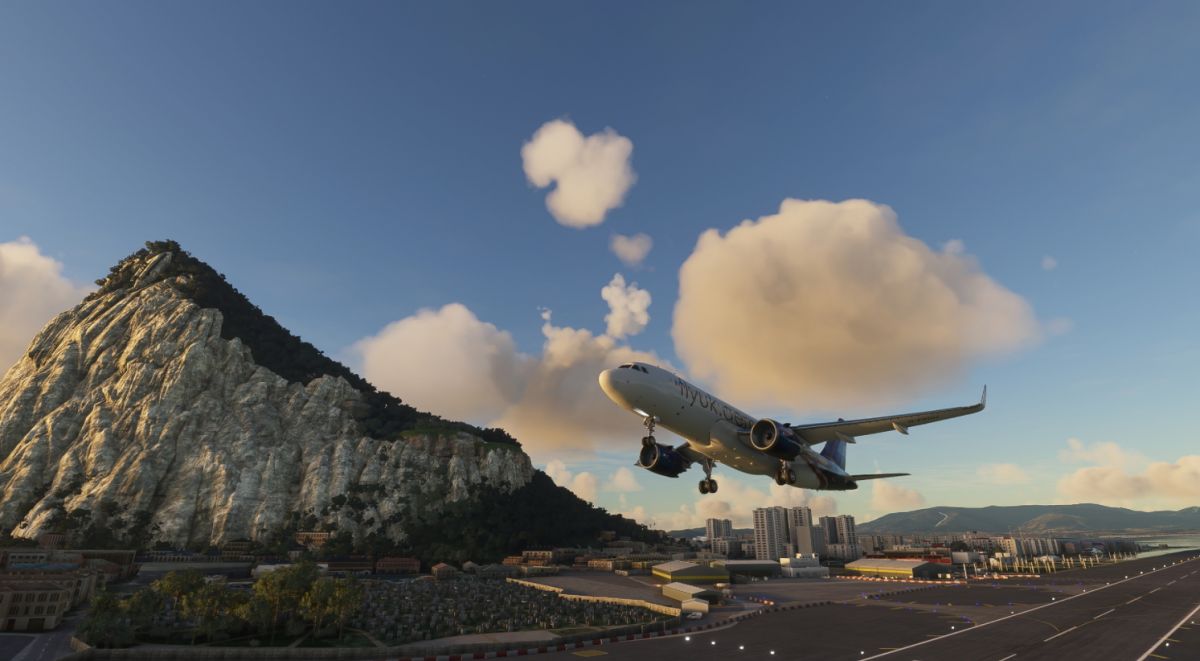
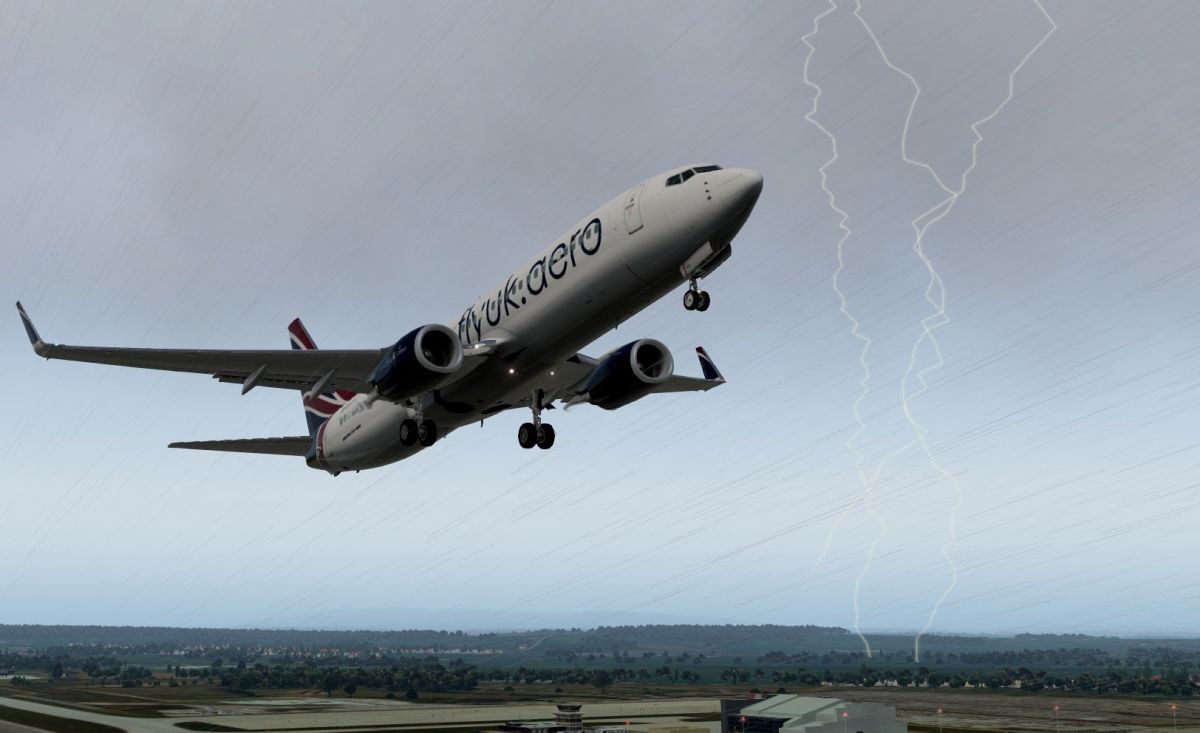
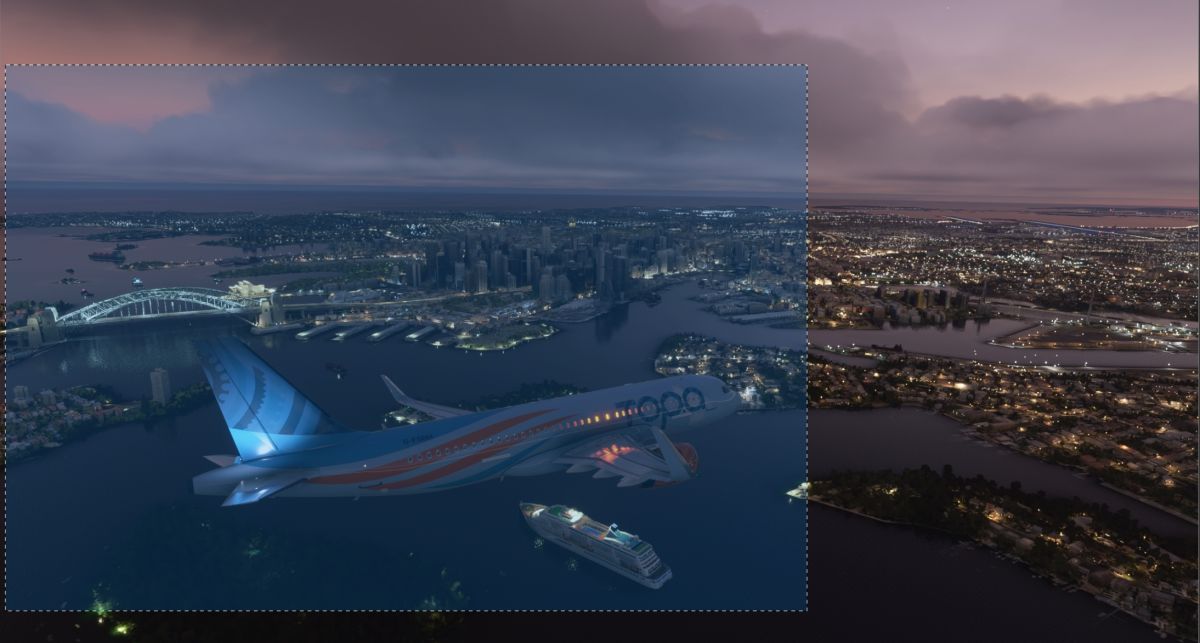
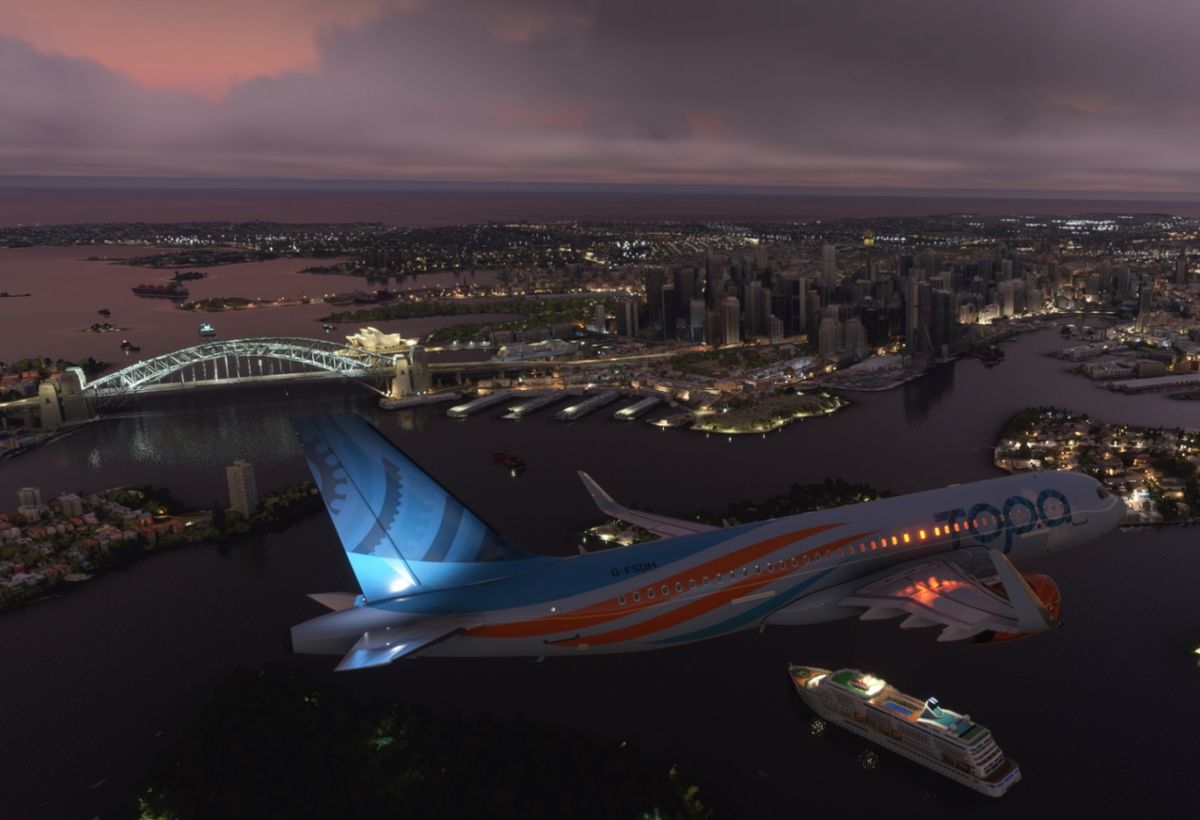
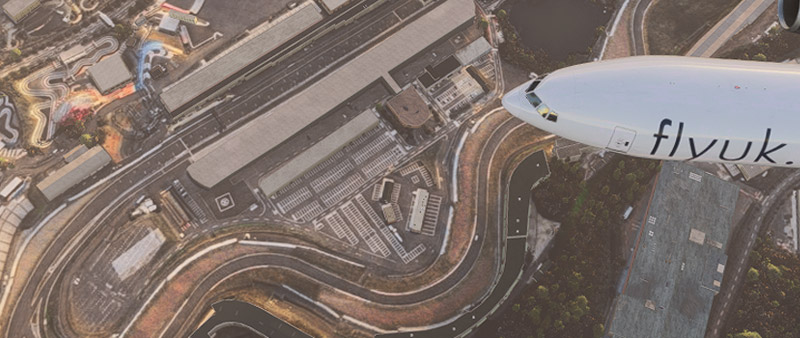
The following example image was only moved slightly to the side in order to see the Fly UK livery, but you get the idea.
Location and Situation
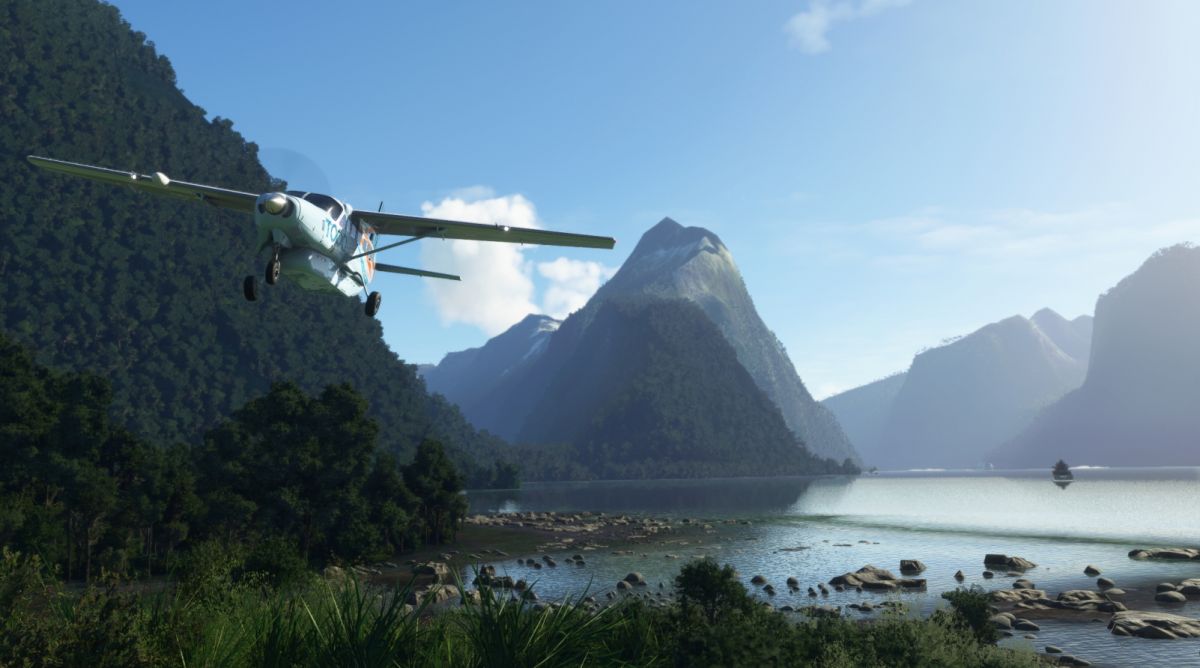
Once decided on the type of image you want to recreate, then decide on a location that you feel will best capture the theme. If planning for a takeoff or landing shot, for example, think about the runway direction, your camera location, time of day etc. Try and incorporate an essence of the location in your shot too. Using a location that you are familiar with can help you visualise what you're trying to create and position the camera view accordingly.
Don't be afraid to zoom in closer to the aircraft which often results in a more dramatic image.
Atmosphere
To give a shot more atmosphere consider what weather and time of day would best suit what you are aiming for, and set your simulator accordingly. Sunrise and sunset shots can often be dramatic, as well as stormy weather. Try to always include some level of clouds, particularly in aerial shots, unless of course the location and theme better suit clear skies.
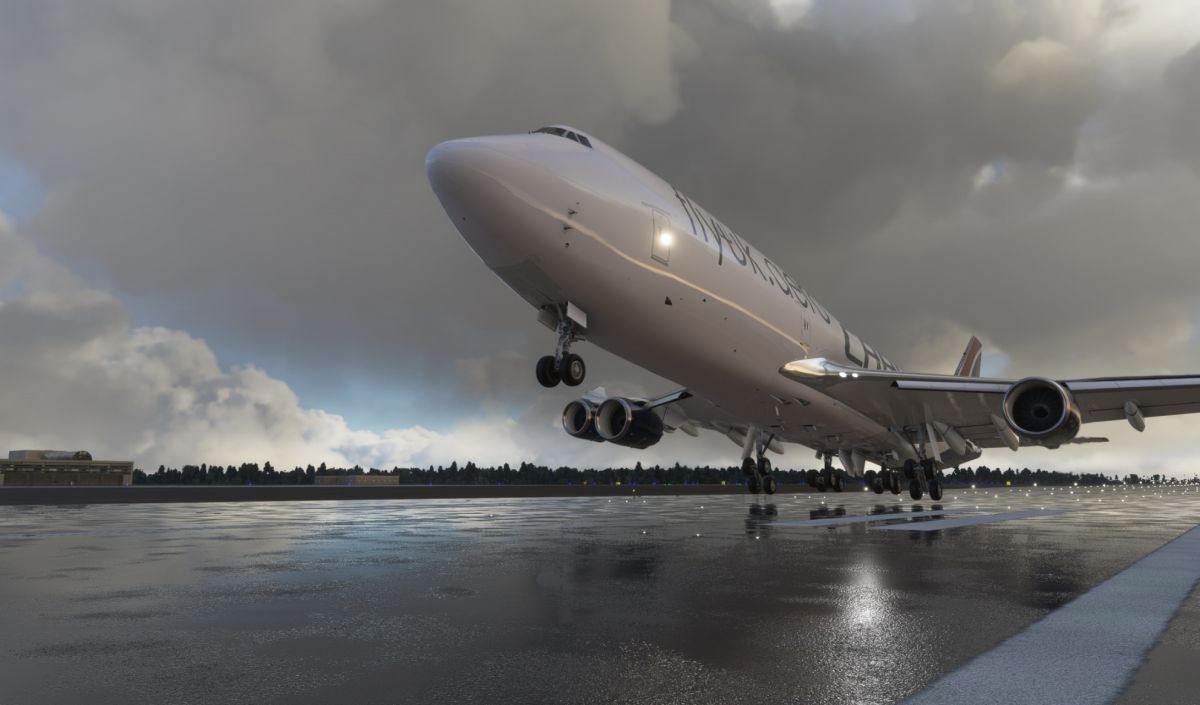
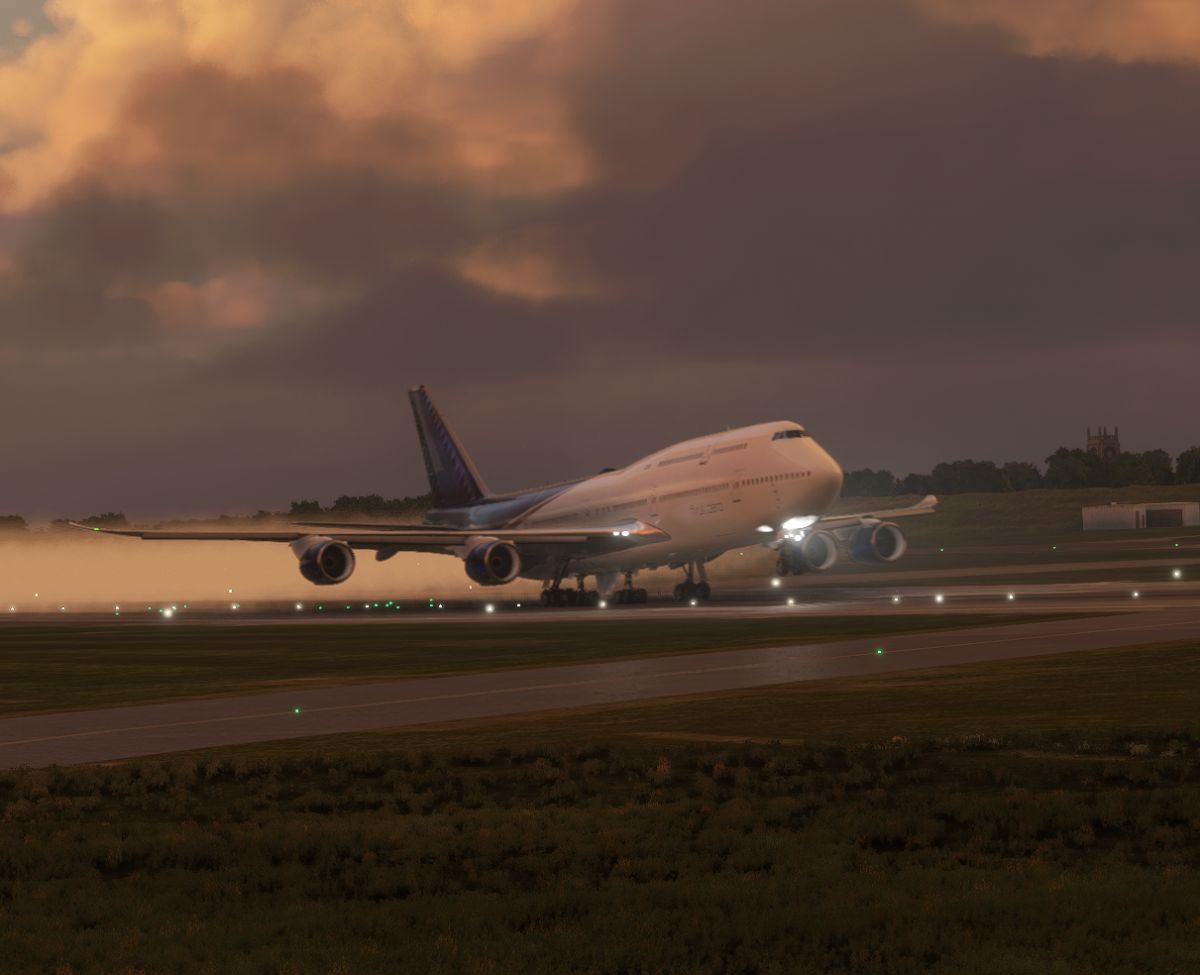
Another recent example, not only captures atmospheric clouds and post sunset light but also the spray caused by the engines at takeoff blasted from a soaked runway.
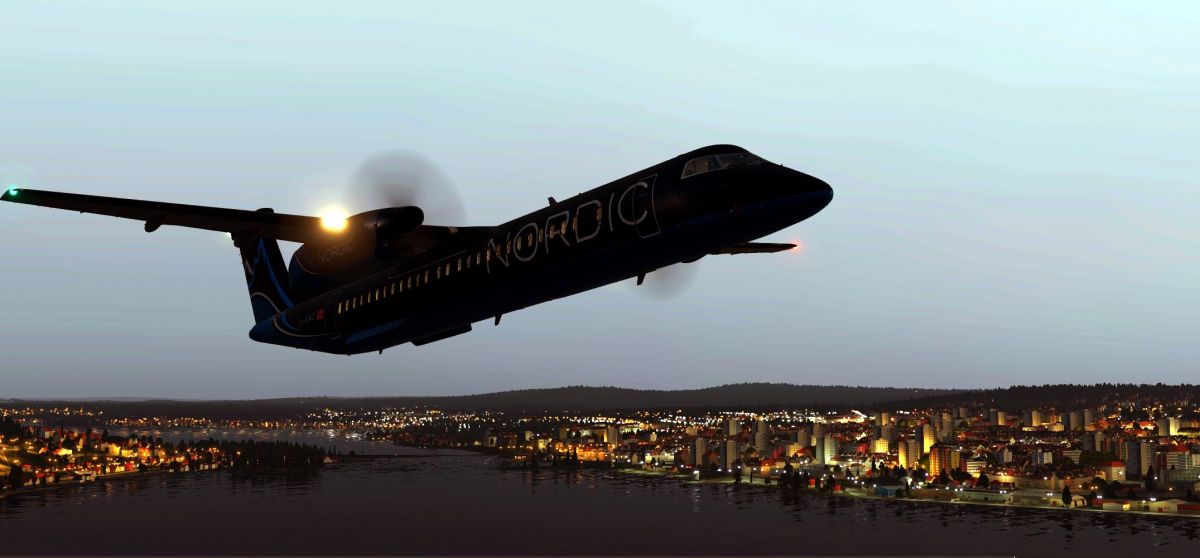
Night time or post sunset screenshots can often present their own difficulties, whereby the main subject can appear more of a silhouette. Try to incorporate lights and colours into shots of this nature.
Composition
When considering the overall composition some of the following tips may help.
Rule of thirds
A rule often used by artists and photographers is 'The rule of thirds', whereby the main subject is placed nearer the top, bottom, left or right side of the image.
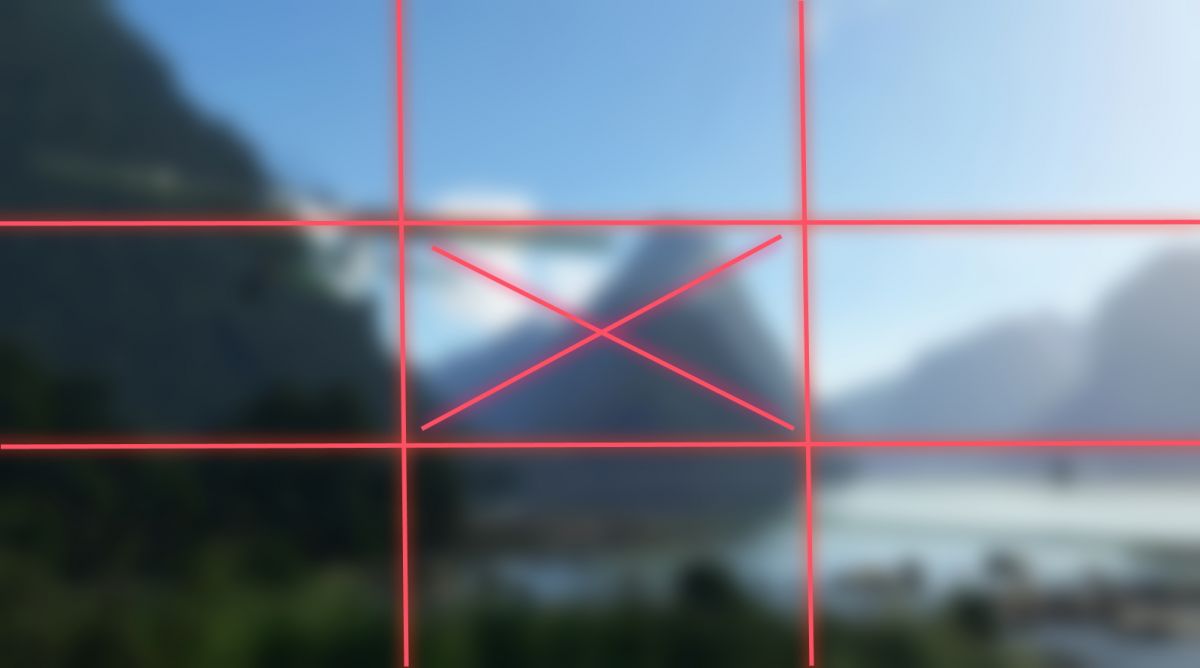
By positioning the main subject of the image, in our case the aircraft, off centre it can give the impression of movement into or out of the image, as well as allowing an essence of the location to be included.
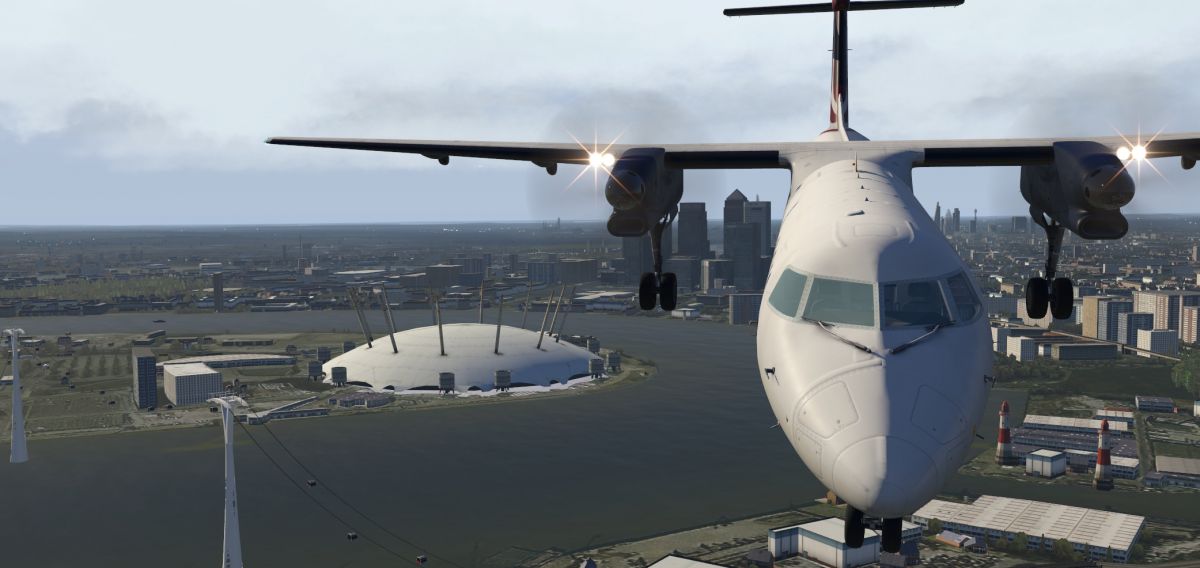
On occasions though, the rule of thirds is not always the best solution and zooming in on the subject in the centre can have just as much impact, as can be seen in the initial photo of the KLM 747 at the beginning of the article.
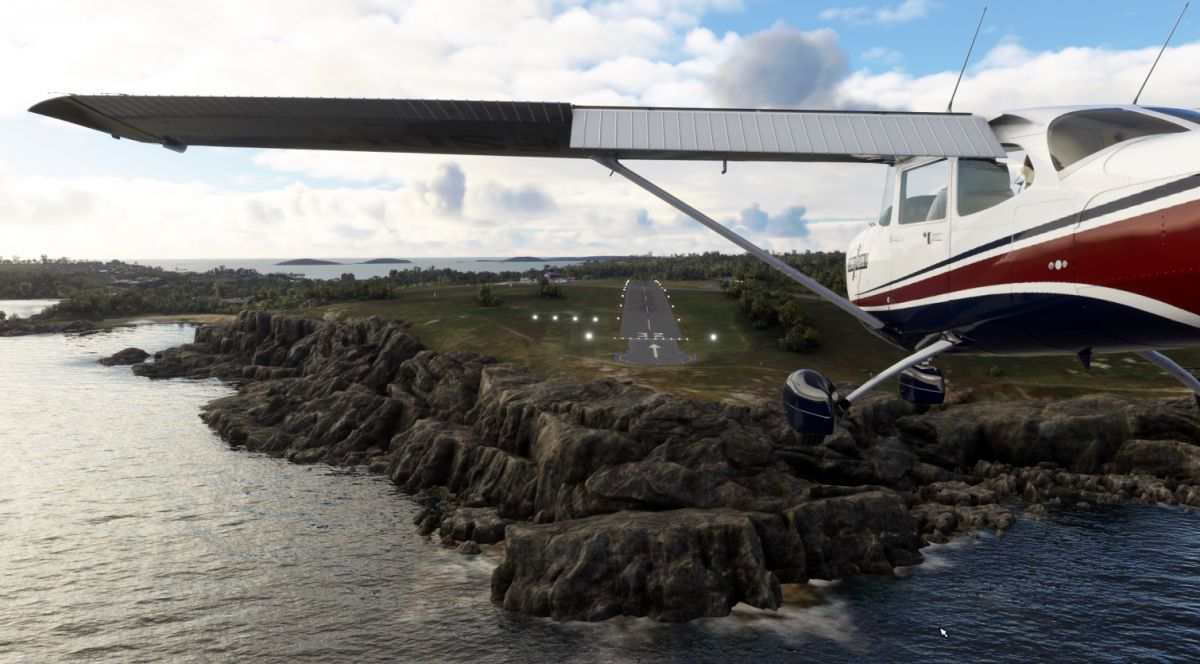
Foreground
Incorporating objects in the foreground can provide depth of field to the image and in this example the grasses and rocks give balance to the overall shot and add to the depth of field.
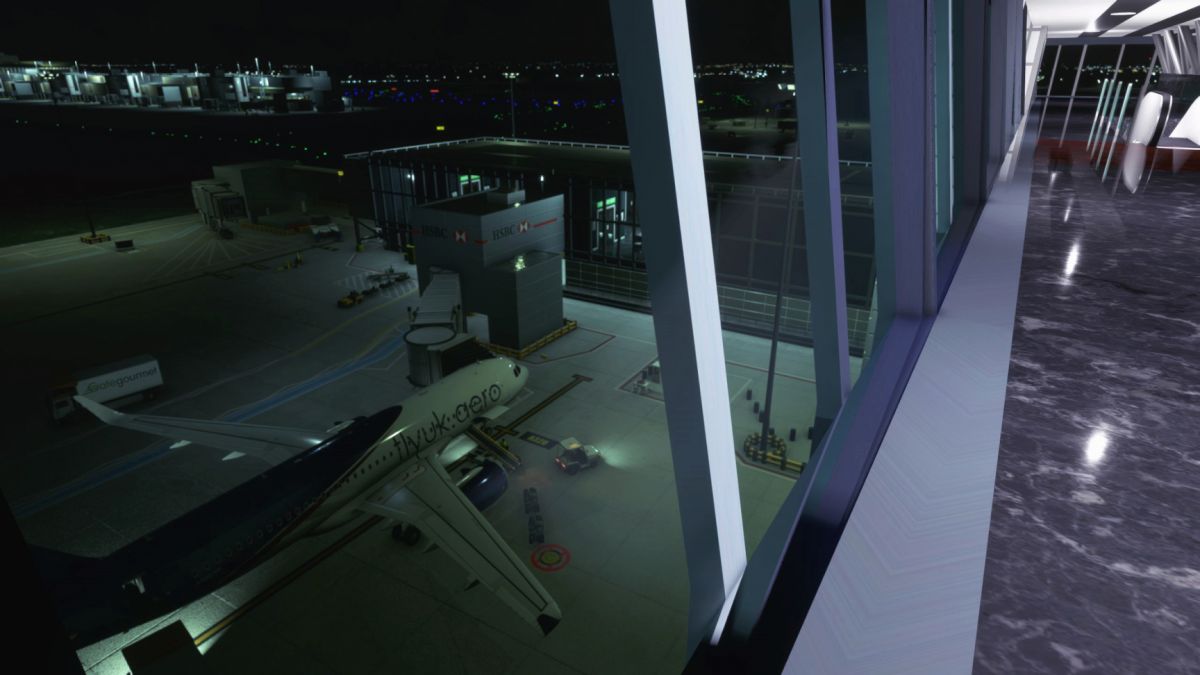
Positioning
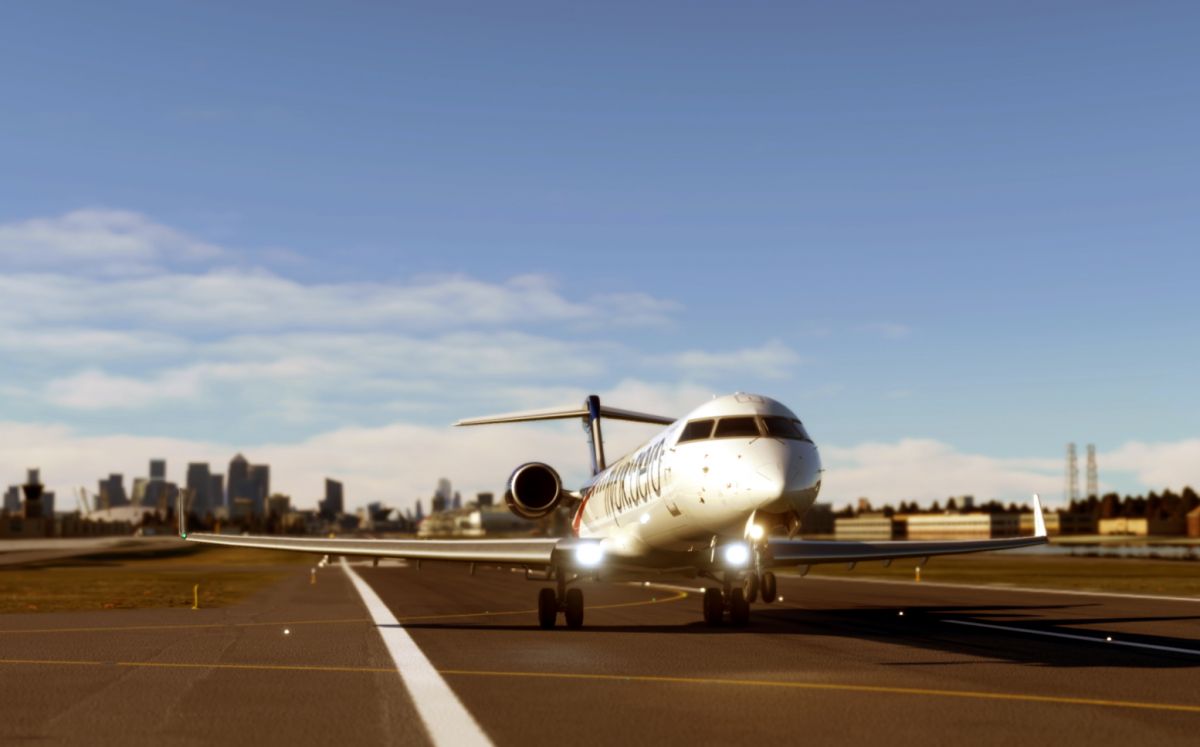
Placing the virtual camera as if you were holding it yourself whilst standing is ideal for grabbing takeoff, landings or ground shots. Your view point may be from the ground, top of a building or even from inside the terminal. Where you place your virtual camera location can also add to the realism of the shot and add a 'story' to the image.
Cropping / Zooming
Cropping the screen, rather than simply capturing the whole screen, will enable you to compose the screenshot on the fly. (see also Capture Area in the next section)
For example; the following scene, whilst very picturesque, has too much around the main subject and the eye gets distracted outwards. By cropping and resizing the screen, the resultant cropped image becomes more dramatic without loosing the sense of location and focusing the viewer on the main elements. A similar cropped image may also be possible by zooming in the camera and moving the viewpoint slightly, if you're only able to capture the whole screen.
Execution
There are several approaches to take when actually capturing your planned image:
Snap shot - Simply moving externally while still flying and then capturing the whole screen. (also note 'Capture Area' below) This method is what one would mostly use when flying online on Vatsim, IVAO or our own FSD, as one should not be pausing the simulator under those circumstances.
Pause & Capture - Move to an external camera and pause the simulator, then move your point of view around until you find the precise optimum view point, before taking your screenshot.
Replay Function - The ideal method is to use a Replay function if available, either within the simulator, or using a Record & Playback tool such as the Flight Recorder available for MSFS. You can then record and replay the section within which your planned screenshot exists, and when you get to the precise point you want, pause the sim and using whatever external camera you prefer, e.g. the drone camera, make minor adjustments by moving the replay forward or backward frame by frame before capturing the screen.
Capture Area - Some 3rd party screen capture tools allow you to select a portion of the screen, and this is something to consider when choosing your preferred screen capture tool. An example is a freeware utility called Greenshot. Alternatively, if you do capture the whole screen, and subsequently feel it's a too distant a shot or not composed as you would have liked, then crop the picture using a photo editor, such as Paintshop Pro, Paint.net or something else.
Depth of field - Finally, not for everyone, but if you are using MSFS, then when using the drone camera, use of the depth of field option can be quite effective in recreating photo realism. Don't overdo it though!
Hopefully the above may have given you some ideas. At the end of the day it's about being creative and having fun, and we would encourage you all to share your screenshots and enter them in our monthly competition. You never know you might win a great UK2000 airport of your choice.
Comments
This is a community-moderated forum.
All post are the individual views of the respective commenter and are not the expressed views of Fly UK Virtual Airways.
By posting your comments you agree to accept our Terms & Conditions.

Categories
Featured Posts
Fly UK Attends FlightSimWeekend 2026

Fly UK 2024 Survey results
F1 2026 Tour Launches February 1st
A Year of Tuesday Night Flying on VATSIM
Fly UK Takes on the World: WorldFlight 2024
Latest Posts

WorldFlight 2026 - Be part of the crew
Fly UK Attends FlightSimWeekend 2026

Fly UK is recruiting and staff updates
Fly UK 2024 Survey results